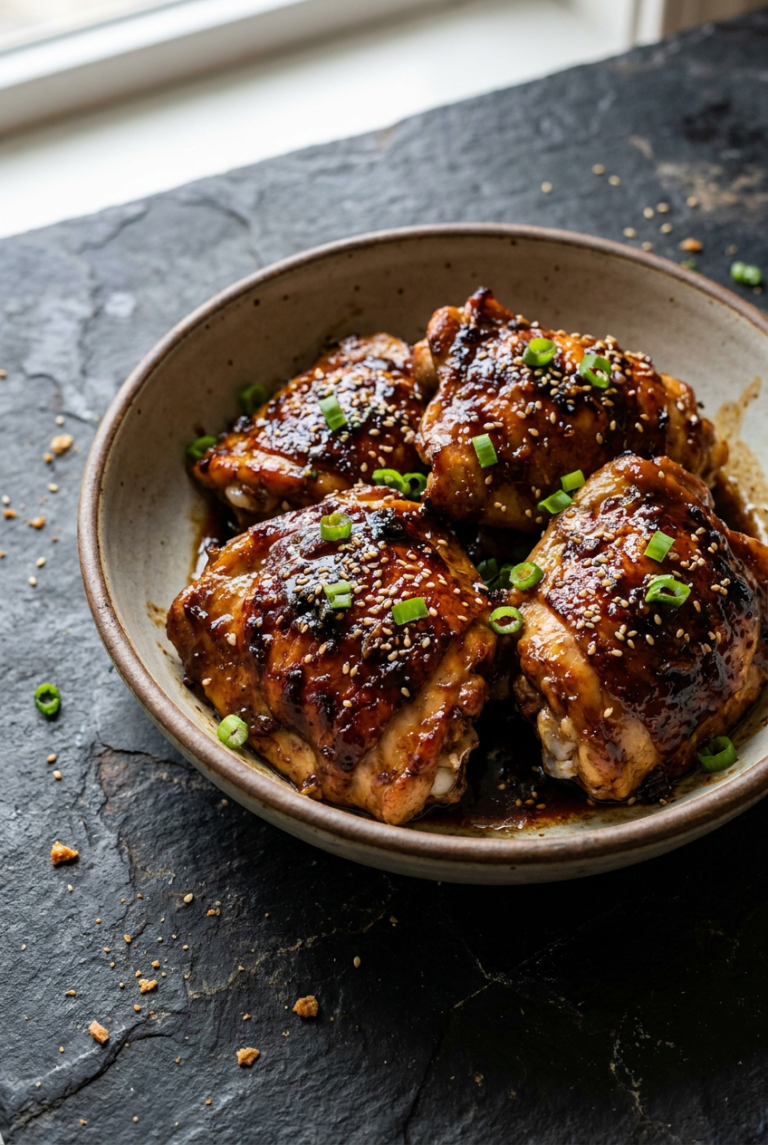
Ultimate Chocolate Lava Cake Recipe, Easy French Dessert in 27 Minutes
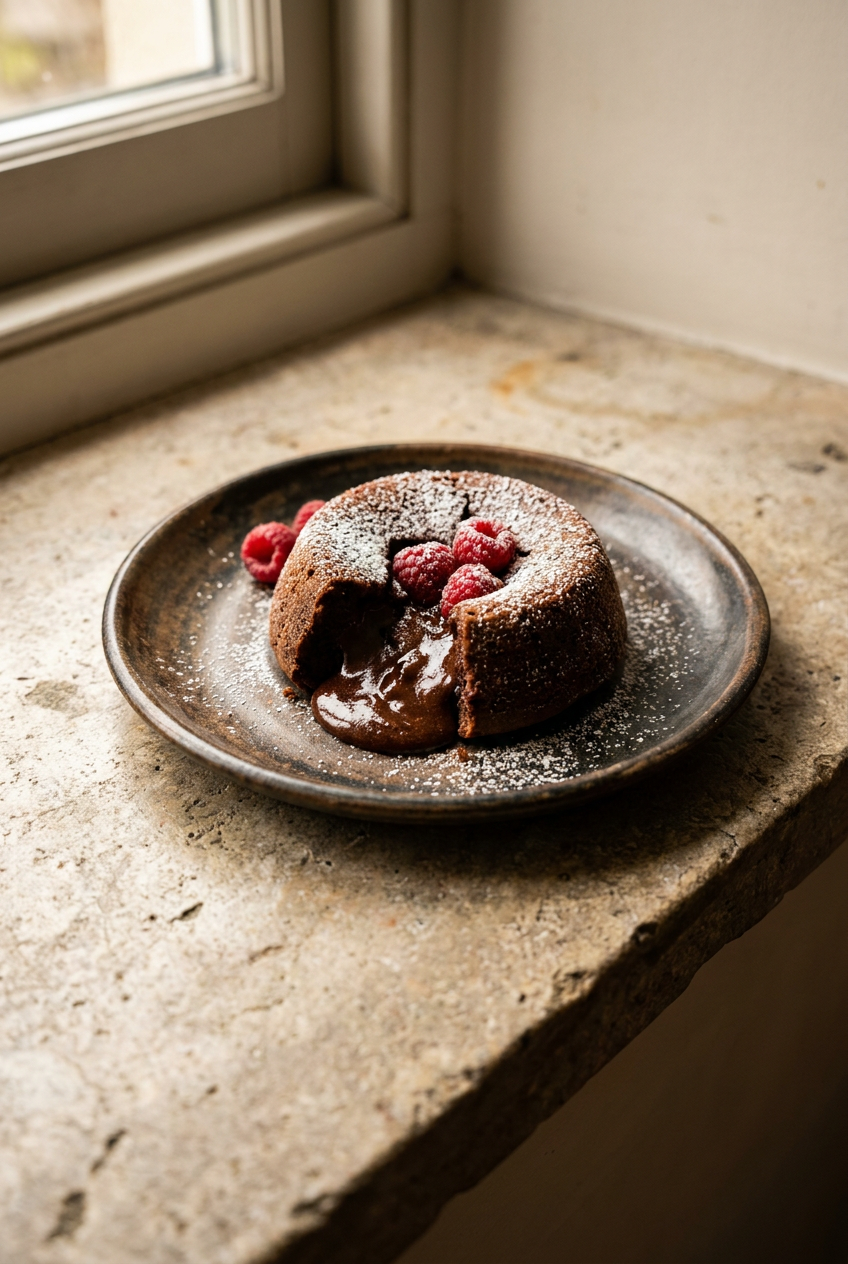
Table of Contents
- Ultimate Chocolate Lava Cake: A rich, decadent dessert with a warm, gooey molten center that oozes pure chocolate bliss.
- Why You Will Love This Ultimate Chocolate Lava Cake Recipe
- Your Simple Ingredients for the Perfect Ultimate Chocolate Lava Cake
- How to Make Perfect Ultimate Chocolate Lava Cake
- Pro Tips and Easy Variations for Your Ultimate Chocolate Lava Cake
- Serving Suggestions
- Nutrition Information
- Storage and Make-Ahead Instructions
- Your Ultimate Chocolate Lava Cake Questions Answered
- More Incredible French Recipes to Try
- The Story Behind This Recipe
- Pin This Recipe for Later
Ultimate Chocolate Lava Cake: A rich, decadent dessert with a warm, gooey molten center that oozes pure chocolate bliss.
This ultimate chocolate lava cake recipe is the dessert I turn to when I want to make someone feel truly special. I still remember the first time I cut into one at a tiny Parisian bistro years ago. The instant my spoon broke through the delicate cake shell, a river of warm, glossy chocolate spilled onto the plate and I literally gasped. It felt like magic on a spoon, bittersweet and impossibly silky. I came home determined to recreate that moment in my own kitchen, and after many happy (and a few overbaked) attempts, I landed on this version. It delivers that same dramatic ooze, but with a depth of flavor that only comes from real butter, top quality chocolate, and a few simple techniques anyone can master.
What makes this homemade ultimate chocolate lava cake stand out is the precise balance of textures and temperatures. The batter comes together in under 10 minutes with just a bowl and a whisk, yet the way we handle the chocolate and whip the eggs determines whether the center will be a silky puddle or a dry crumb. I pay extra attention to the melt and the fold, and I share every little visual cue so you can feel confident. Unlike many recipes that read as vague, this one gives you an internal temperature target (160 degrees Fahrenheit) so the eggs are safely cooked and the center is perfectly molten every single time. You are not guessing when to pull them from the oven, you are working with a clear signal.
This best ultimate chocolate lava cake recipe is exactly what you need when you want an impressive dessert without spending all day in the kitchen. It is perfect for date nights, small dinner parties, or even a Tuesday evening when only a deep chocolate moment will do. Because you can prep the ramekins hours ahead and even chill the filled batter, it fits seamlessly into any hosting timeline. If you love the alchemy of turning a few humble ingredients into something that feels like a celebration, you might also adore our fluffy Japanese souffle pancakes, another showstopper that relies on a gentle touch and a hot oven. But right now, let us walk through every detail so your lava cake emerges molten, beautiful, and deeply delicious.
Why You Will Love This Ultimate Chocolate Lava Cake Recipe
- Effortless elegance in under half an hour. From mixing bowl to molten center, the entire recipe clocks in at about 27 minutes. That means you can decide to make a stunning French dessert after dinner and still have it on the table before the coffee cools.
- A foolproof method for a flowing center. By learning exactly what set edges and a jiggly center look like, plus using a simple instant read thermometer, you never have to cut into a disappointingly solid cake again. Every ramekin becomes its own little treasure.
- Incredible chocolate flavor without fussy techniques. Because we melt the chocolate and butter gently and whip the eggs just until thick, the batter tastes deeply of pure chocolate, not sugar. The recipe highlights whatever cacao percentage you choose, whether you lean into bittersweet intensity or classic semisweet comfort.
- Perfectly portioned and party friendly. Four individual ramekins mean each person gets their own dramatic reveal. The batter can be made a day ahead and baked straight from the fridge, so you spend your evening with guests instead of at the stove.
- Endlessly adaptable for chocolate lovers. You can tuck a frozen peanut butter ball or a teaspoon of espresso into the center, and the cake still works. The base recipe is a reliable canvas for your creativity, and I have never met a variation that was not devoured in minutes.
Your Simple Ingredients for the Perfect Ultimate Chocolate Lava Cake
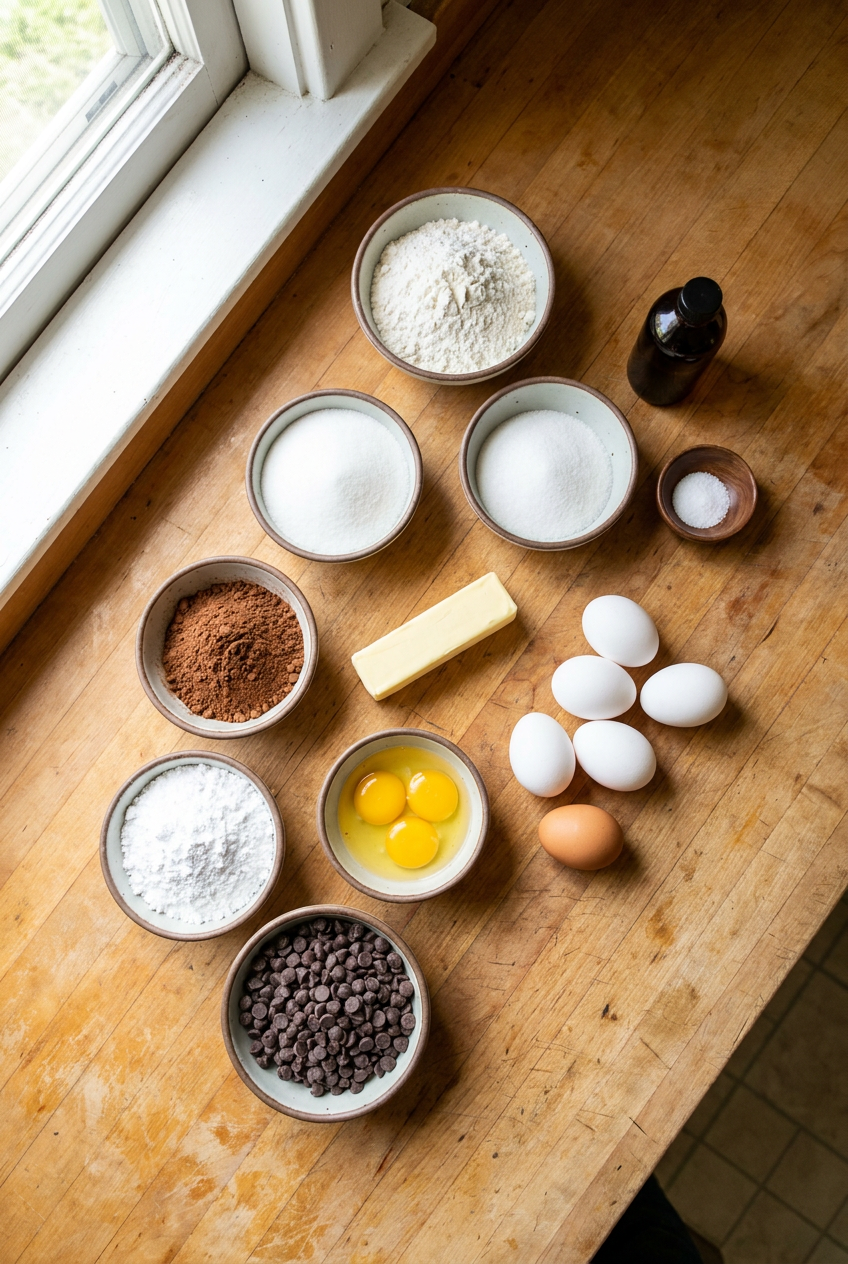
Main Ingredients
- 6 oz semisweet chocolate, 60 to 70 percent cacao, chopped (or high quality chocolate chips)
- 1/2 cup unsalted butter, cut into pieces
- 2 large eggs, room temperature
- 2 large egg yolks, room temperature
- 1/4 cup granulated sugar, plus more for dusting ramekins
- 2 tbsp all-purpose flour, spooned and leveled
- pinch salt
For Coating Ramekins
- 1 tbsp unsalted butter, melted, for greasing
- 2 tbsp cocoa powder, or granulated sugar, for dusting
Optional Garnishes
- powdered sugar for dusting
- vanilla ice cream or whipped cream
- fresh raspberries or strawberries
Ingredient Notes
Semisweet chocolate. This is the soul of your lava cake. Chocolate with 60 to 70 percent cacao gives you a beautiful balance of sweetness and deep cocoa character. A 70 percent bittersweet chocolate will taste less sweet and more intense, while 60 percent reads as classic and crowd pleasing. Look for a chocolate you love eating straight from the bar, if it tastes waxy or flat, your cake will too. In a pinch, high quality chocolate chips that list cocoa butter as the first fat will work, but I always reach for a bar I chop myself because it melts more smoothly.
Unsalted butter. Butter brings richness and helps create the cake’s tender crumb while carrying the chocolate flavor. Using unsalted butter lets you control the salt level exactly. If you only have salted butter, simply omit the pinch of salt in the batter. Make sure the butter is at cool room temperature, not rock hard or melted, so it blends easily with the chocolate during melting.
Eggs and egg yolks. Room temperature whole eggs plus extra yolks are the structure builders here. They whip up with sugar to a pale, ribbon y consistency that traps tiny air pockets, giving the cake just enough lift around the molten center. The extra yolks add custard like richness and help keep that center velvety. Cold eggs will not whip to the same volume, so if you forgot to pull them early, place them in a bowl of warm tap water for 5 minutes.
Granulated sugar. A quarter cup might seem modest, but remember the chocolate carries a lot of sweetness. Sugar not only sweetens but also tenderizes the crumb and helps the eggs whip into a stable foam. For the ramekin coating, a dusting of sugar adds a delicate caramelized edge, though cocoa powder hides any white spots better and reinforces the dark cake exterior.
All-purpose flour. Just two tablespoons are all you need to provide a whisper of structure. Too much flour makes the cake taste cakey rather than molten. Spoon the flour into your measuring spoon and level it with a knife for the most accurate amount. For a gluten free easy ultimate chocolate lava cake, swap in an equal weight of a 1 to 1 gluten free blend or almond flour, the result will be slightly more tender but still wonderful.
Cocoa powder for dusting. Natural or Dutch process both work beautifully here. Cocoa powder makes the ramekin surface dark and velvety, so no white patches appear on your unmolded cake. If you prefer, granulated sugar dusting gives a subtle sparkle and just a hint of crunch at the edges.
How to Make Perfect Ultimate Chocolate Lava Cake
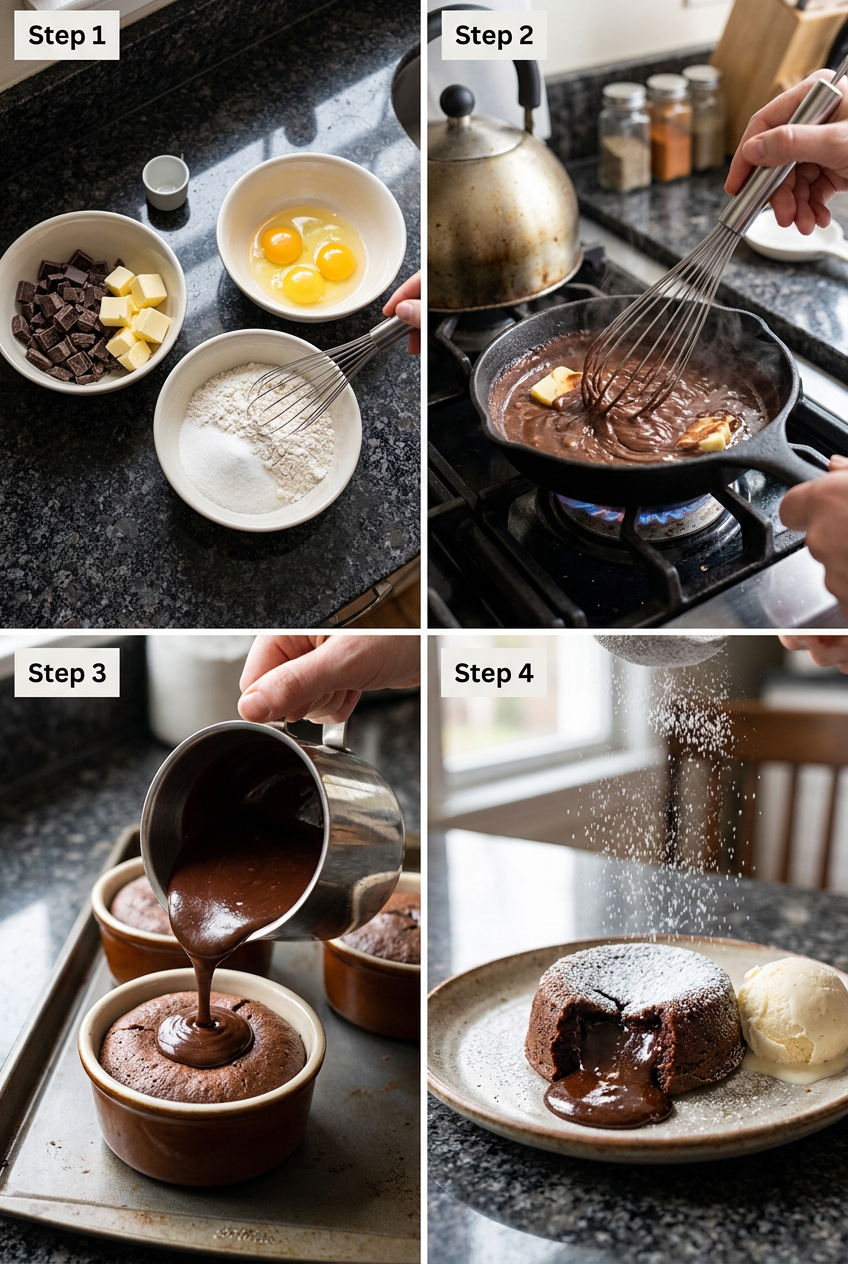
Step 1: Preheat and Prep Ramekins
Preheat your oven to 425 degrees Fahrenheit (220 degrees Celsius) so it is truly hot by the time the batter is ready. Brush four 6 ounce ramekins all over the inside with melted butter, making sure to get the bottom edges where cakes tend to stick. Dust the inside generously with cocoa powder or granulated sugar, tilting and tapping to coat evenly, then knock out the excess. Place the ramekins on a rimmed baking sheet for easy handling. The coating not only prevents sticking but creates a delicate crust that releases beautifully when you invert the cake. Cocoa powder hides any white spots better than flour, keeping the cakes looking perfectly dark from the outside in.
Step 2: Melt Chocolate and Butter
Combine the chopped chocolate and butter pieces in a microwave safe bowl. Microwave in 20 second bursts, stirring well between each interval, until the mixture is almost completely melted with a few solid bits remaining. The residual heat will finish melting those last pieces as you stir, so do not overheat or the chocolate can seize and turn grainy. Alternatively, use a double boiler by setting the bowl over a saucepan of barely simmering water, making sure the water does not touch the bowl. Once the mixture is glossy and smooth, set it aside to cool slightly while you whip the eggs. A warm but not hot chocolate stream folds into the egg foam much more gently, preserving those precious air bubbles.
Step 3: Whip Eggs and Sugar
In a large mixing bowl, whisk together the two whole eggs, two egg yolks, and the quarter cup of granulated sugar. Whip vigorously by hand for 2 to 3 minutes, or use a hand mixer on medium high speed, until the mixture turns thick, pale yellow, and nearly doubles in volume. You know you are there when you lift the whisk and the batter falls back in a slowly dissolving ribbon that sits on the surface for a few seconds. This step builds the cake’s delicate structure, so do not rush it. Room temperature eggs achieve that ribbon stage much faster and more reliably, another reason to plan ahead.
Step 4: Combine and Fold
Pour the slightly cooled melted chocolate mixture over the whipped eggs. Using a flexible silicone spatula, fold the two together by slicing down through the center, scraping around the side of the bowl, and bringing the spatula up and over. Turn the bowl a quarter turn and repeat. Work gently and patiently until you see a uniform dark batter with no more streaks of yellow. Sift the two tablespoons of flour and the pinch of salt directly over the surface, then fold again just until the flour disappears. Overmixing at this stage will deflate the batter and compromise that runny center, so stop the moment everything comes together. The figure eight folding motion is your best friend here, it keeps as much air in the batter as possible while still marrying the ingredients.
Step 5: Divide and Bake
Spoon the batter evenly into the prepared ramekins, filling each about three quarters full. Slide the baking sheet into the preheated oven and bake for 12 to 14 minutes. At 12 minutes, the edges should look set and slightly matte, while the very center remains jiggly and a bit glossy. For complete confidence, insert an instant read thermometer into the center of one cake, you are looking for 160 degrees Fahrenheit to ensure the eggs are safely cooked and the middle is warm and fluid, not raw. For me, the sweet spot is often exactly 13 minutes, but every oven behaves differently, so start checking at 11 minutes with a gentle shake of the pan. The cakes will rise just a little and develop a subtle dome. This precise timing is much like another recipe that rewards your attention, our Moroccan chicken tagine, where a few minutes one way or the other transform the dish. Here, those few minutes are the difference between a shy dribble and a glorious molten center.
Step 6: Rest and Serve
Remove the baking sheet from the oven and let the ramekins cool on the counter for exactly 1 minute. This brief rest allows the outer cake to set just enough to hold its shape when inverted. Run a thin, flexible knife around the edge of each ramekin to loosen any sticky spots. Place a small dessert plate upside down over the ramekin, then, holding plate and ramekin firmly together, flip them over in one confident motion. Let the ramekin sit on the plate for a few seconds so gravity coaxes the cake out, then gently lift the ramekin straight up. Dust the top with powdered sugar and serve immediately with a scoop of vanilla ice cream or a few tart raspberries. If a cake refuses to release, give the bottom of the ramekin a little tap with the handle of your knife, or just serve the lava cake right in its cozy ramekin, rustic and just as delicious.
Pro Tips and Easy Variations for Your Ultimate Chocolate Lava Cake
Pro Tips
- Choose the best chocolate you can find. The flavor of this dessert hinges almost entirely on the chocolate, so splurge on a bar you truly love. A high cacao percentage creates a less sweet, more grown up result, while a 60 percent semisweet yields the familiar, soulful taste most people crave.
- Chill the filled ramekins for an even more molten center. Placing the prepared batter in the refrigerator for 15 minutes before baking creates a temperature gradient that lets the edges set firmly while the center takes longer to cook. If you go this route, extend the bake time by 2 to 3 minutes and still aim for that 160 degree Fahrenheit internal temperature.
- Have your serving plates and garnishes ready. Lava cakes wait for no one, the moment they come out of the oven, the clock is ticking. Set out plates, ice cream, berries, and a small sieve of powdered sugar before you pull the ramekins from the oven so you can plate quickly and preserve that spectacular flow.
- Use an instant read thermometer for foolproof results. Every oven has hot spots and quirks. By checking that the center reaches 160 degrees Fahrenheit, you know the egg proteins are set enough for food safety while leaving the chocolate perfectly fluid. This takes all guesswork out of the process.
- Fold with a gentle hand and a light heart. The air you whip into the eggs is what gives the cake its delicate rise. A spatula and a figure eight folding pattern protect those bubbles far better than a whisk or any aggressive stirring motion. Think of the batter as a dear friend, handle it kindly.
Delicious Variations
- Peanut Butter Stuffed Lava Cake. Freeze a teaspoon sized ball of creamy peanut butter on a parchment lined plate for at least 30 minutes. Drop one frozen ball into the center of each filled ramekin before baking, then gently push it just below the surface. The peanut butter becomes a warm, salty surprise that cuts through the dark chocolate beautifully.
- Espresso Dark Chocolate Lava Cake. Stir one teaspoon of instant espresso powder into the melted chocolate and butter mixture before combining with the eggs. The coffee amplifies the chocolate notes without adding any coffee bitterness. Top your finished cake with a dollop of espresso whipped cream for a mocha lover’s dream.
- Raspberry Surprise Lava Cake. Place a single frozen raspberry or a half teaspoon of thick raspberry jam in the center of the batter before baking. As the cake bakes, the fruit creates a tangy liquid core that contrasts the rich chocolate beautifully. For an extra twist, dust the empty ramekin with cocoa powder mixed with a little freeze dried raspberry powder.
If you enjoy a dessert that plays with bright fruit and pillowy textures, you might also love our blueberry lemon ricotta pancakes, which bring that same contrast of sweet and tart to the breakfast table.
Serving Suggestions for a Perfect Dessert
The moment you invert a warm lava cake onto a plate, the presentation does half the work, but the right companions make it unforgettable. A quenelle of vanilla bean ice cream or a generous spoonful of barely sweetened whipped cream provides a cool, creamy contrast to the hot, fudgy center. Scatter a handful of fresh raspberries or sliced strawberries around the plate, their natural acidity cuts through the richness and wakes up the palate. For a touch of savory magic, sprinkle just a few flakes of flaky sea salt like Maldon over the top of the cake right after dusting with powdered sugar. The salt crystals highlight the chocolate’s deep notes in a way that feels utterly sophisticated.
This ultimate chocolate lava cake recipe shines at intimate celebrations, anniversary dinners, Valentine’s Day, or even a quiet girls’ night in. Because the ramekins bake individually, scaling up for a larger party is simple: place as many as you need on two baking sheets, rotating them halfway through if your oven has uneven heat. You can easily prep the batter in advance, pour it into the ramekins, and keep them covered in the refrigerator until your guests arrive. When dessert time approaches, just slide the tray into the hot oven and let the aroma fill the room while you finish your coffee or pour a glass of ruby port. Few desserts generate as much audible joy as a table full of people breaking into their own molten chocolate cake.
Nutrition Information
(Approximate per serving, 4 servings total) Calories: 480, Fat: 34g, Carbohydrates: 38g, Protein: 8g, Fiber: 3g, Sugar: 28g, Sodium: 85mg. Nutritional values are estimates only.
Storage and Make-Ahead Instructions
- Refrigerator. Unbaked batter can be covered tightly with plastic wrap and stored in the ramekins in the refrigerator for up to 24 hours. Bake directly from the fridge, adding 1 to 2 minutes to the standard baking time and still checking for the 160 degree Fahrenheit internal temperature. Baked and cooled lava cakes will lose their molten center but taste deliciously fudgy the next day, store them covered at room temperature for up to 1 day or in the fridge for 2 days.
- Freezer. You can freeze unbaked filled ramekins for up to 1 month. Wrap each ramekin tightly in a layer of plastic wrap followed by foil to prevent freezer odors. Bake straight from frozen at the same 425 degree Fahrenheit temperature, adding 5 to 7 minutes to the total time. The center will still be molten, though the texture of the cake edges may be slightly denser.
- Reheating. Leftover baked lava cakes are best enjoyed cold, like a dense, luxurious brownie. If you really want to warm them, a 15 to 20 second burst in the microwave will soften the chocolate without making the center molten again. The cake stays moist and the flavor deepens, but do not expect it to ooze.
- Make-Ahead. The most practical approach is to coat the ramekins with butter and cocoa powder, whip up the batter, and divide it among the prepared dishes. Cover and refrigerate until you are almost ready to serve, then bake. You can also melt the chocolate mixture and whip the eggs separately earlier in the day, storing them covered at room temperature. Fold the two together just before portioning and baking for the very best rise.
Your Ultimate Chocolate Lava Cake Questions Answered
How do I know when the lava cake is done?
Look for set, matte edges and a center that jiggles slightly when you gently shake the pan. A toothpick inserted about 1 inch from the edge should come out clean, while the very center remains wet. For absolute certainty, an instant read thermometer inserted into the middle should register 160 degrees Fahrenheit.
Can I use milk chocolate or white chocolate?
Milk chocolate will work but produces a very sweet result and the lower cocoa solids can make the center less stable. If using milk chocolate, reduce the added granulated sugar by 2 tablespoons. White chocolate is tricky because it scorches easily and lacks the structure needed for a flowing center, so it is not recommended for this particular recipe.
Can I make this easy ultimate chocolate lava cake gluten free?
Absolutely. Replace the 2 tablespoons of all purpose flour with an equal amount of a 1 to 1 gluten free flour blend or almond flour. The cake will be slightly more tender but still beautifully molten. Just be sure to spoon and level the flour alternative for accurate measuring.
Why did my lava cake come out solid with no molten center?
Overbaking is the most common culprit. Even one extra minute can turn a molten center into a soft cake crumb. Also, if your oven runs hot, it can speed up the process. Start checking a minute or two early and trust the visual and temperature cues rather than relying solely on a timer.
Can I make this recipe without ramekins?
Ramekins are ideal because their shape and size help create the temperature gradient needed for a molten center. In a pinch, you can use a well greased muffin tin, filling each cup about three quarters full. Bake for a shorter time, around 8 to 10 minutes, and watch carefully. Unmolding from a muffin tin is trickier, so consider serving them right in the pan with a warning about the hot metal.
Can I double this recipe for a larger group?
Yes, this recipe doubles or triples beautifully. Simply multiply all ingredients proportionally and divide the batter among the extra ramekins. You may need to bake them in batches if your oven cannot fit more than one baking sheet on the center rack at a time, otherwise rotate the sheets halfway through baking for even results.
How do I get the lava cake to release cleanly from the ramekin?
Thoroughly buttering every crevice and coating generously with cocoa powder or sugar is key. Do not skimp on the butter, it creates a necessary barrier. After baking, let the cakes rest for 1 minute, then run a thin knife around the edge before inverting. If the cake resists, tap the bottom of the ramekin gently or allow it to sit upside down for a few extra seconds.
What can I do if the center is too runny or raw
Ultimate Chocolate Lava Cake
ultimate chocolate lava cake recipe made easy at home. A rich, decadent dessert with a warm, gooey molten center that oozes pure chocolate bliss. Ready in 27
Ingredients
Method
- Preheat oven to 425°F (220°C). Brush four 6-ounce ramekins with melted butter, then dust generously with cocoa powder or sugar, tapping out excess. Place ramekins on a baking sheet.
- In a microwave-safe bowl, combine chopped chocolate and butter. Microwave in 20-second bursts, stirring between each, until fully melted and smooth. Alternatively, use a double boiler. Let cool slightly.
- In a large bowl, whisk together eggs, egg yolks, and sugar vigorously until thick and pale, about 2-3 minutes. You can use a hand mixer for speed. The mixture should fall in ribbons when lifted.
- Pour the melted chocolate mixture into the egg mixture and fold gently with a spatula until just combined. Sift in the flour and salt, then fold again until no streaks remain. Do not overmix.
- Spoon batter evenly into prepared ramekins, filling about 3/4 full. Bake for 12-14 minutes, until edges are set and the center is jiggly but reaches an internal temperature of 160°F (71°C) to ensure eggs are safely cooked. Do not overbake.
- Remove from oven and let cool in ramekins for 1 minute. Run a knife around the edge to loosen. Invert each onto a serving plate, let sit a few seconds, then gently lift the ramekin. Dust with powdered sugar and serve immediately with ice cream or berries.
Disclosure: This post may contain affiliate links. If you purchase through our links we may earn a small commission at no extra cost to you.
If you made this Ultimate Chocolate Lava Cake, please leave a comment below and let me know how it turned out.
Ultimate Chocolate Lava Cake
Ingredients
Method
- Preheat oven to 425°F (220°C). Brush four 6-ounce ramekins with melted butter, then dust generously with cocoa powder or sugar, tapping out excess. Place ramekins on a baking sheet.
- In a microwave-safe bowl, combine chopped chocolate and butter. Microwave in 20-second bursts, stirring between each, until fully melted and smooth. Alternatively, use a double boiler. Let cool slightly.
- In a large bowl, whisk together eggs, egg yolks, and sugar vigorously until thick and pale, about 2-3 minutes. You can use a hand mixer for speed. The mixture should fall in ribbons when lifted.
- Pour the melted chocolate mixture into the egg mixture and fold gently with a spatula until just combined. Sift in the flour and salt, then fold again until no streaks remain. Do not overmix.
- Spoon batter evenly into prepared ramekins, filling about 3/4 full. Bake for 12-14 minutes, until edges are set and the center is jiggly but reaches an internal temperature of 160°F (71°C) to ensure eggs are safely cooked. Do not overbake.
- Remove from oven and let cool in ramekins for 1 minute. Run a knife around the edge to loosen. Invert each onto a serving plate, let sit a few seconds, then gently lift the ramekin. Dust with powdered sugar and serve immediately with ice cream or berries.